My phone storage was 98% full, and I had to send a 4-minute video to a friend. WhatsApp ruined the quality, email refused the file, and Google Drive had no space left.
Quick answer: If you are in a hurry, use Panda Video Compressor if you are a beginner and VidCompact if you want more control.
If you also edit videos, use CapCut or InShot. The app matters less than the settings. 1080p, 30fps, and medium quality are enough for most videos.
Below, I share my experience with these 4 apps and the mistakes I made, so you don’t repeat them.
Why You Need Apps to Reduce Video File Size on Android
Modern phones record very large files by default. If your storage is always full, or WhatsApp keeps damaging your video quality, a good compression app solves both problems.
Three things decide how big a video is:
- Resolution: 4K has about four times as many pixels as 1080p.
- Bitrate: how much data is used every second. This has the biggest effect.
- Frame rate: 60fps needs much more data than 30fps.
Every compression app changes these three settings. Once you understand this, choosing the right app and settings is easy.
The 4 Apps I Tested
1. Video Compressor – Panda Resizer

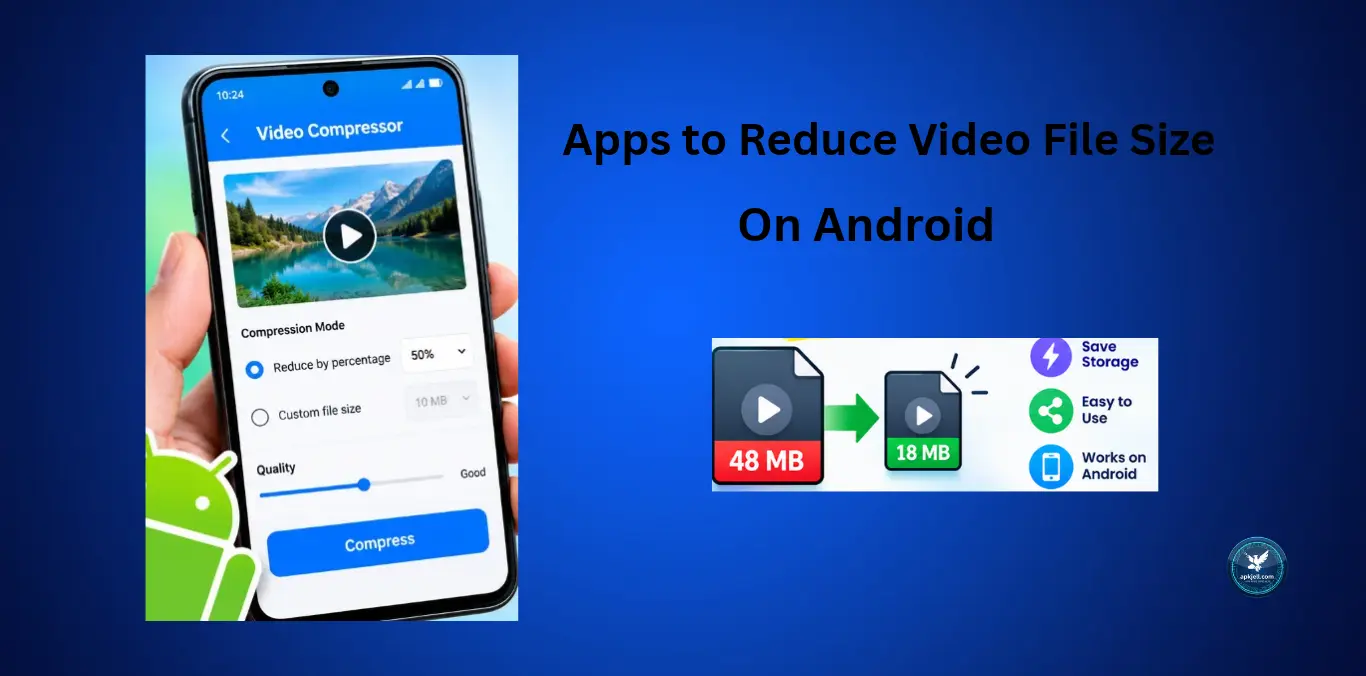
This is the easiest option. Pick a video, choose a target like reduce by 50% or a custom size, and export.
- Good: Very easy for beginners, and it has a custom file size option.
- Watch out: The free version shows ads. Always check the export for a watermark.
- My result: My original video was 16 MB, which was reduced to 2 MB after compression. The video quality remained clear, with only a slight loss of detail.
2. VidCompact

It gives you more control than Panda. You can choose the resolution and quality level yourself.
- Good: Quickly converts 4K to 1080p or 720p.
- Watch out: It has ads and in-app purchases. Check what the paid version actually unlocks before buying.
3. CapCut

Most people use CapCut for editing, but its export screen also works as a hidden compression tool.
- Good: You can set resolution and frame rate at export. Choosing 1080p and 30fps can reduce the size a lot.
- Watch out: Depending on the template or settings, an outro or watermark can be added. Always check the final clip.
- My result: My original 60 MB video was reduced to 28 MB after exporting it in CapCut at 1080p and 30fps.
4. InShot

If you are already trimming a video or adding music, InShot is a good choice because compression happens while you export.
- Good: Clean interface and resolution options at export.
- Watch out: The free version shows ads and may add a watermark unless you remove it inside the app.
How I Compress a Video, Step by Step
After a few failed attempts, this is the method that worked for me:
- Make a copy first. Never compress your only original.
- Decide your goal. For WhatsApp, 720p or 1080p is enough. For archiving, don’t compress too much.
- Import the video into your app.
- Lower the resolution if the video is 4K. Going down to 1080p alone saves a lot of space.
- Change 60fps to 30fps, unless the video has fast motion like sports or gaming.
- Choose medium quality, not the lowest. Test on a 10-second clip first.
- Watch the full video after export, including the audio. Check for blur, blocky areas, and audio sync problems.
- Compare the file sizes and only then delete the original.
Mistakes I Made (So You Don’t Have To)
Compressing twice. I compressed a video and then compressed the result again. It looked blurry and blocky. Always compress only once, from the original.
Choosing the smallest size. Once I picked the smallest size option, the video looked like it was recorded behind a dirty window. A slightly bigger file with good quality is always better.
Not checking for watermarks. A free app put its logo on a clip I had already sent to someone. Always check the final export before sharing.
Which One Should You Pick?
- Need to send quickly, no hassle: Panda Video Compressor.
- Want more control over resolution: VidCompact.
- If you also edit videos: CapCut or InShot, using their export settings.
FAQs
1. What is the best app to reduce video file size on Android?
There is no single best app. Panda Resizer is easy for beginners, VidCompact gives more control, and CapCut or InShot are good if you also edit videos. Your settings matter more than the app.
2. Does compressing a video reduce its quality?
Yes, always a little, because compression removes some data. But with good settings like 1080p, 30fps, and medium quality, the difference is hard to notice on a phone screen.
3. How much can I reduce a video’s size?
It depends on the original video. A 4K 60fps clip can become much smaller when exported at 1080p 30fps. Results are different for every video, so test a short clip first.
Final Thoughts
After testing these apps, my biggest lesson is that settings matter more than the brand. A well-chosen 1080p/30fps export from any of these four apps is better than a badly compressed video from a fancier tool.
Start with a short test clip, check the result on your own screen, and then compress your bigger files. And keep the original until you are completely sure.
If you have found a better app, tell me in the comments. I am always ready to test new ones.

I’m Tanveer Abbas, the creator of APKJell.com. I test and write about the latest Android apps and games, sharing safe, honest, and easy-to-understand insights based on real hands-on experience. My goal is simple: help you find useful, reliable tools without wasting your time on the bad ones.


